You may have come across many aluminum household items needing repairs, such as a cracked aluminum pipe, an aluminum part with a broken ear, or a holed headlamp or tail lamp cover of your car or motorcycle. Such repairs can be done by brazing on a DIY basis, and the brazing equipment is inexpensive and easy to use.
This article discusses how to braze aluminum, why do you choose brazing for joining aluminum, and the filler rods used for brazing.
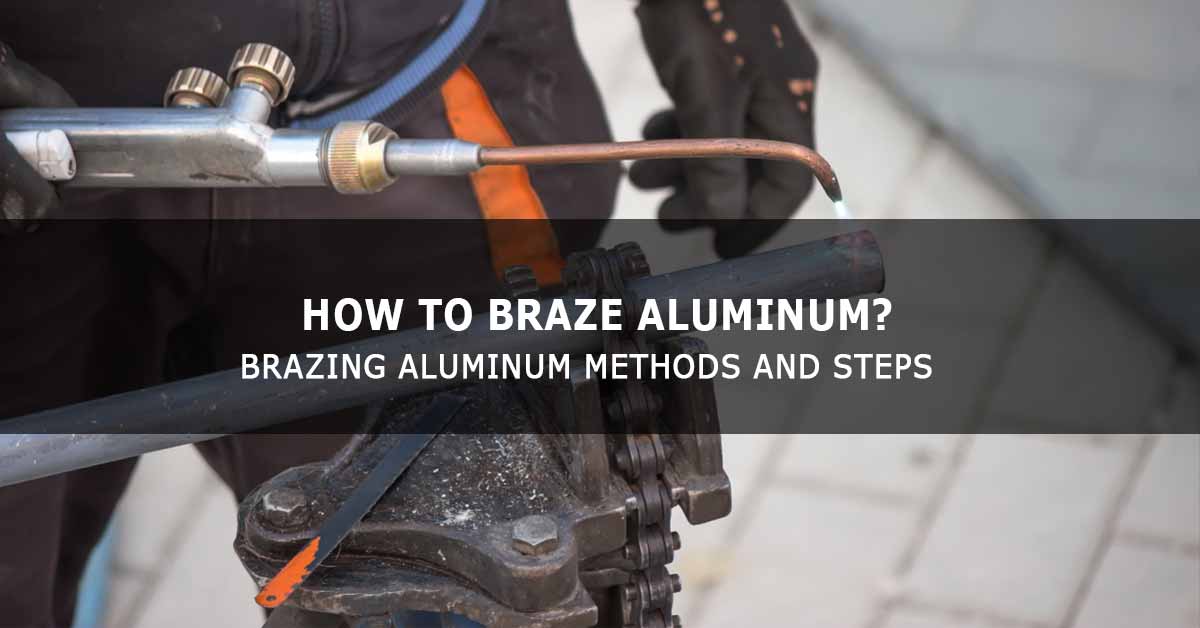
How to braze aluminum?
Before going into the methods of aluminum brazing, let us understand how to prepare the workpieces and the role of the flux in brazing.
Preparation of the workpieces for brazing:
- Clean the aluminum workpieces or parts with a degreasing solution to remove oil, grease, and dirt.
- Use a 220 grit emery cloth to remove the oxide coating on the brazing surfaces and clean the brazing area.
- The brazed joints can be lap joint, butt joint, butt-lap joint, tee joint, and corner joint. For a strong brazed joint, it is important to have an optimum (0.075 to 0.125 mm) and uniform gap to enable the capillary action to fill the gap with molten filler metal. In the case of lap joints, the amount of overlap should not be more than optimum since more overlap can lead to voids or flux inclusions in the brazed joint.
- A clean brazing surface and a uniform gap have an important role in getting a good brazing joint.
- Ensure your safety by doing the brazing work in a well-ventilated area and wearing your recommended brazing gear, including an auto-darkening helmet, eyeglasses, and respirators.
- Take your experienced friends’ advice, and go through the brazing instructions and understand it.
- The clamping elements used for clamping the workpieces should be of metals with low thermal conductivity so that there is minimum heat loss.
Role of flux in brazing:
Applying a flux on the joint to be brazed helps when brazing in the open atmosphere.
The function of the flux is:
- To eliminate or reduce the oxidation of the filler and base metal.
- Reduce the surface tension of the molten filler metal and improve its flowability.
- It reacts with any leftover impurities on the brazing area and brings them to the surface as slag (can be removed after brazing).
Borax and boric acid are popularly used as brazing fluxes, and it is essential to clean them after brazing to avoid corrosion.
Aluminum brazing types?
You can do aluminum brazing by the following methods:
- DIY aluminum brazing.
- Torch brazing aluminum.
- Dip brazing aluminum.
- Furnace brazing aluminum.
1. DIY aluminum brazing
You need the following items to start brazing at home:
- Propane gas (LPG) or MAPP gas “MAPP is a trading name (mixture of methyl-acetylene, propadiene, and propane)” fitted with a flame torch.
- A piece of emery cloth 220 grit or nearer to it.
- A kit containing an aluminum brazing rod and brazing flux.
- Clamps or vice to hold the workpiece.
- Keep a fire extinguisher handy.
Do the aluminum brazing in the following steps:
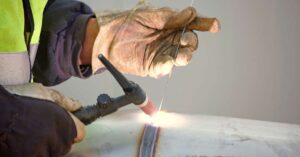
Step 1: Thoroughly clean the workpieces and the brazing area to remove oil, grease, and aluminum oxide. Use an emery cloth to remove oxide coating on the brazing area. Wipe the brazing area clean. A clean brazing surface is very important for a good brazing joint.
Step 2: Clamp the aluminum workpiece securely using a clamp or on a vice.
Step 3: Apply the recommended flux using a brush. If you are using a flux-coated filler wire, then this step is not required. The flux-coated filler rods apply the flux automatically during brazing aluminum.
Step 4: Heat the joint to be brazed using a propane or MAPP torch. If you have a pyrometer, you can check the temperature. The melting temperature of aluminum is around 660º C (1220º F), and the brazing should be done at a temperature of around 350º C to 450º C (662º F to 842º F, see the filler rod box for its melting temperature).
If you do not have a pyrometer, you can take out the flame and run the filler rod on the brazing joint. The filler rod melts and creates a strong brazing joint if the temperature is correct. If the filler rod does not melt, you can give more heat and try again. Do not melt the filler rod with the flame.
If you are filling a hole by brazing, use the brazing rod to fill the hole, and then smoothen the rough joint using the flame.
Step 5: Allow the molten filler metal to get solidified to complete the brazing. Dip the workpiece in hot water or pour hot water on the brazed joint and scrub with a wire brush to remove the flux material. Once the workpiece is cooled, use an emery cloth (220 grit) to polish the joint bright.
You can use aluminum brazing for joining aluminum pieces for your DIY project or for repairing any domestic appliances or parts.
2. Torch brazing aluminum
If you already have a set up for oxy-fuel or oxyacetylene torch, you can use it for brazing. The oxy-fuel torch typically uses a mix of oxygen and fuel gas like propane or acetylene; however, you may be able to use air or compressed air instead of oxygen when the temperature required is less.
The brazing procedure is similar to the one explained above; however, the gas flame gives you more flexibility. You can use an oxyacetylene neutral flame for brazing aluminum.
The flux used for aluminum brazing comes in powder form, and you can mix the flux powder and water to make a paste and apply. The filler metal can be a rod or a thin strip with flux coating all around.
3. Aluminum dip brazing
The workpieces to be brazed are thoroughly cleaned and assembled (maintaining the correct gap), and the filler metal is positioned near the joint for easy flow when heated. You may apply flux on the joint before placing the filler metal (the flux melts and gets dissolved in the salt bath).
The assembly is preheated and then placed inside the molten salt bath. The molten salt acts as a flux, and the filler metal melts and flows into the gap joint due to capillary action. After the brazing is completed, take out the assembly from the salt bath, allow it to cool a little in the air, and then quench it. Quenching makes the joint hard. The assembly can be cleaned to remove the leftover flux, if any.
4. Furnace brazing
As the name implies, this brazing is done in a furnace. This process can be adopted for brazing a large batch of brazed parts or mass production.
The workpieces to be brazed are assembled along with the filler metal and then loaded into the furnace. In the case of mass production, the assembled parts to be brazed move into the furnace, and after brazing, it gets quenched, cooled, and comes out as a finished part. Usually, the furnace has a vacuum or an inert atmosphere (no air to contaminate).
Aluminum brazing rod types
The aluminum brazing rods can be an alloy of aluminum and zinc or aluminum, silicon, and copper. The zinc and silicon are added to the pure aluminum to bring down its melting temperature and also to improve the fluidity of the molten filler metal. The exact composition of the filler rod varies from manufacturer to manufacturer, and they do not disclose it.
The brazing rod can be flux coated, or it may need a separate salt-based flux. The shape of the filler rod can be a round rod or flat strip and length 8 inches.
The filler rod with zinc can melt at around 800º F/426º C (depending on the brand), and the melting temperature of the filler rod with silicon will be slightly higher than this (600º C/1112º F). The melting point will be much less than the melting point of aluminum.
You can find many commercial brands of filler rods in the market, and you can also purchase a kit containing filler rods and flux for your DIY projects. Many commercial brands call this welding rod since it can also be used for TIG welding.
Why do you choose to braze for joining aluminum?
The reasons for choosing to braze for joining the aluminum parts can be:
- All aluminum joints need not be welded. Many aluminum parts need joining, but the requirement of joint strength or the working temperature is not high. For joining such aluminum parts, you can use a simple and affordable brazing process instead of a comparatively costlier and skilled setup of aluminum welding.
- Brazing works when the load and working temperature are moderate.
- Brazing does not require high skill and can be learned easily. The brazing kits are affordable, and you can straightaway purchase them and start brazing your DIY project. When the working temperature and the load that comes on the joint are not severe, a brazed joint works just fine.
Related article: Welding VS Brazing | What Is The Difference?
Conclusion
We have discussed some of the essential issues regarding aluminum brazing. You must have got the confidence to do DIY brazing now. However, do not forget to keep yourself safe. Happy brazing!
References: